If you’ve ever wondered how to assemble your Ikea Skorva bed, then you’ve come to the right place. Whether you’re looking for a guide to assemble a slatted bed base or how to attach an extra leg, we’ve got you covered.
How to attach extra legs to Ikea Skorva bed
You can add additional legs to your Ikea Skorva bed. You can also add legs to drawers and shelves. Adding extra legs can add character to your bed. But how do you attach them? Here are some tips. Ensure you use a cordless drill when attaching the extra legs.
How to assemble SKORVA midbeam
The Skorva midbeam is a necessary component of the bed frame. It is included with the purchase of the SKORVA bed frame. You can choose the SKORVA midbeam at the time of purchase or pick it up separately. When it comes to assembly, you can use a mild cleaner and dry the midbeam with a clean cloth.
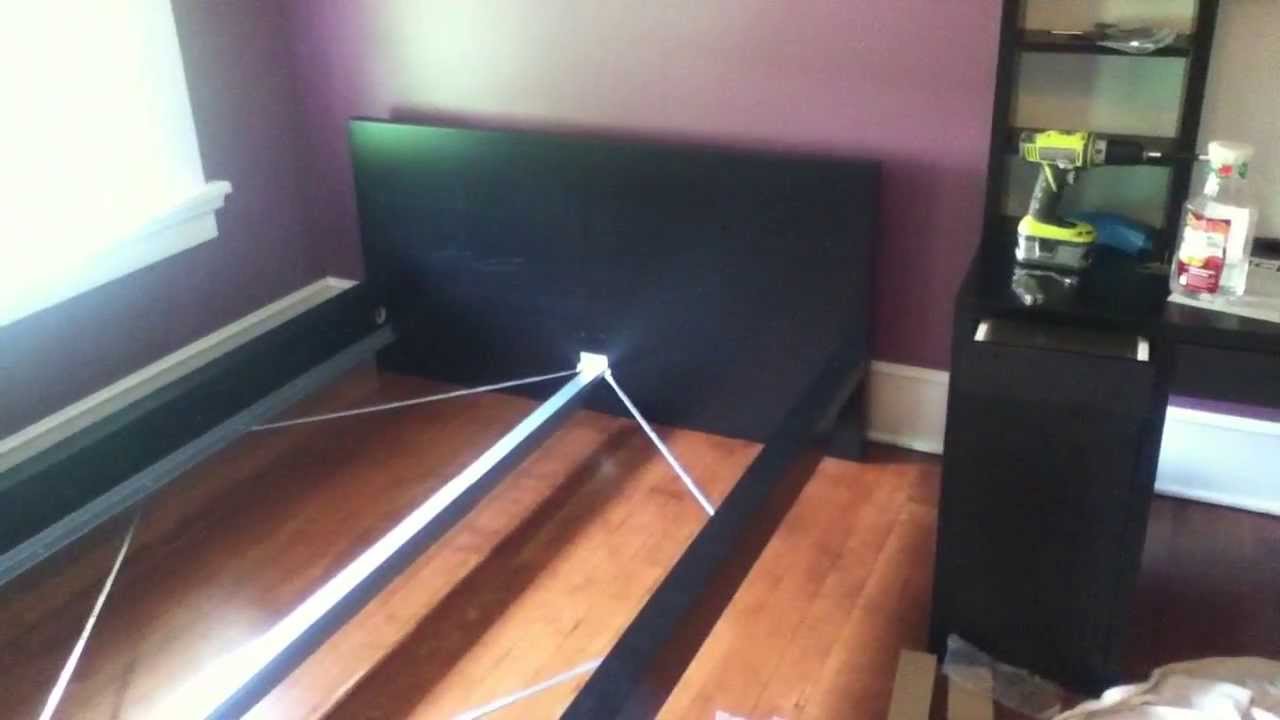
How to assemble SKORVA bed frame
Getting a new bed frame can be a life-changing experience, but the process of putting it together can seem like deciphering hieroglyphics. Luckily, Ikea recently created a video to help its customers assemble their new furniture. This four-and-a-half-minute lesson includes diagrams and pop-up tips. You’ll also see the actual assembly process in action, as two Ikea employees demonstrate the steps.
The first step is to remove the mattress and bedding from the bed. Next, unfasten the mounting plates for the midbeam. You can then use an IKEA wrench to loosen the hex bolts in the corners of the frame. If you don’t have the right tools, you can also use a finger to unscrew the U-shape hardware. You can also ask a friend to help you remove the headboard and footboard. You can also use a step-stool to hold one side rail while you fist hammer the other side rail.